httpNodeAuth와 httpStaticAuth는 Node-RED의 인증 설정 중에서 각각 HTTP 노드와 정적 파일에 대한 인증을 담당합니다.
httpNodeAuth는 HTTP In/Out 노드와 같은 HTTP 노드를 사용할 때 사용자가 인증을 거쳐야하는 경우를 설정할 수 있습니다. 예를 들어 HTTP In 노드에 대한 인증이 필요한 경우 이 설정을 사용하여 사용자 이름과 암호를 설정하고 인증을 활성화할 수 있습니다.
httpStaticAuth는 Node-RED가 서비스하는 정적 파일에 대한 인증을 설정합니다. 이 설정을 사용하여 Node-RED가 제공하는 대시보드의 로그인 창 등과 같은 파일에 대한 인증을 활성화할 수 있습니다.
따라서 이 두 설정은 각각 HTTP 노드와 정적 파일에 대한 인증을 다룹니다.
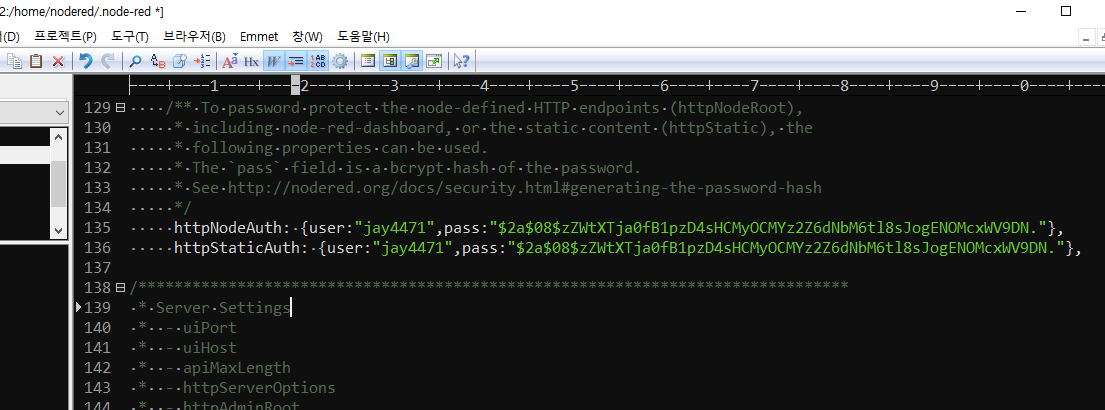
httpNodeAuth: {user:"user",pass:"$2a$08$zZWtXTja0fB1pzD4sHCMyOCMYz2Z6dNbM6tl8sJogENOMcxWV9DN."},
httpStaticAuth: {user:"user",pass:"$2a$08$zZWtXTja0fB1pzD4sHCMyOCMYz2Z6dNbM6tl8sJogENOMcxWV9DN."},
이것을 하면
암호는 bcrypt 를 이용하여 만들어진다. 무겁기때문에 최강이다.. 동일한 문자를 암호화를 해도 매번 다르게 결과값이 나온다. 그리고 로그인 이된다.
npm install bcrypt


const bcrypt = require('bcrypt');
const saltRounds = 8;
const myPlaintextPassword = 'myPassword';

bcrypt.genSalt(saltRounds, function(err, salt) {
    bcrypt.hash(myPlaintextPassword, salt, function(err, hash) {
        console.log(hash);
    });
});

// 생성하하는 툴


const bcrypt = require('bcrypt');

// 비밀번호 암호화
const saltRounds = 10;
const password = 'my-password';
bcrypt.hash(password, saltRounds, function(err, hash) {
  // 암호화된 비밀번호(hash)를 저장
});

// 비밀번호 검증
const savedHash = '$2b$10$xCzYQ1KnxI56CBF8X9qOb.Iprup2gFFKjP/tl/rpGzgJrnwY7VU5W';
const userInputPassword = 'my-password';
bcrypt.compare(userInputPassword, savedHash, function(err, result) {
  if (result) {
    // 비밀번호 일치
  } else {
    // 비밀번호 불일치
  }
});
위코드로 암호를 만들어도 되고.. 또는 쉽게
https://www.devglan.com/online-tools/bcrypt-hash-generator 아래 싸이트를 이용하면 편리하다.
Programming Blog Article Feeds as per your Interest | DevGlan
Best programming article feeds as per your Interest on different technologies. Subscribe to any technology and explore the best articles from around the web.
www.devglan.com
목표한 로그인창이 성공적으로 되었다.

성공!
'NodeRed' 카테고리의 다른 글
| 노드레드 기본아이콘 변경법 (0) | 2023.03.01 |
|---|---|
| nodered KTcloud의 CentOS7에 설치 서비스 실행 등록 방법 (0) | 2022.10.23 |
| nodered죽는 현상 해결 방법 (0) | 2022.09.29 |
| nodered gmail통해email발송 위한 앱비밀번호생성법 (0) | 2022.09.27 |
| nodered gmail로 email 발송 실패 문제 해결 (0) | 2022.09.19 |